In this article I am going to show you how to add a text, edit and align it on Teespring.
If you are new to Teespring this can be a bit confusing since the Teespring designer is not similar to the traditional tools. However, once you get a hang of it, it is very simple and easy to work on.
But before we get started I would like to recommend you a t-shirt designing tool that has premade designs, ready to go on t-shirts. You can also modify the text on the designs and download it to your computer. Check the designing tool here and here you will find some premade designs.
Now let’s get started.
First let’s me show you how to add a text on a t-shirt.
How to add text on Teespring?
Go to your Teespring home page and click “Start designing” and choose a product to add your text design.
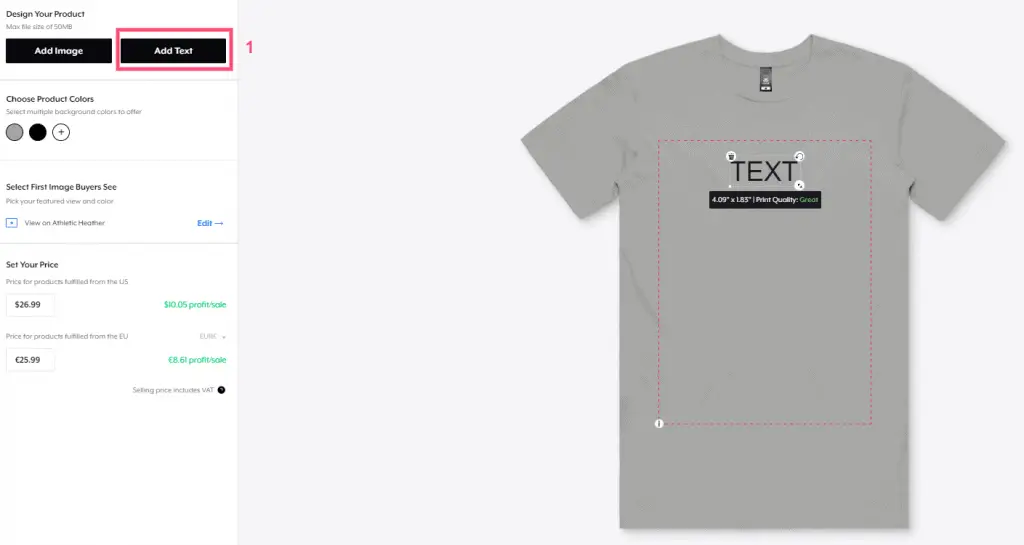
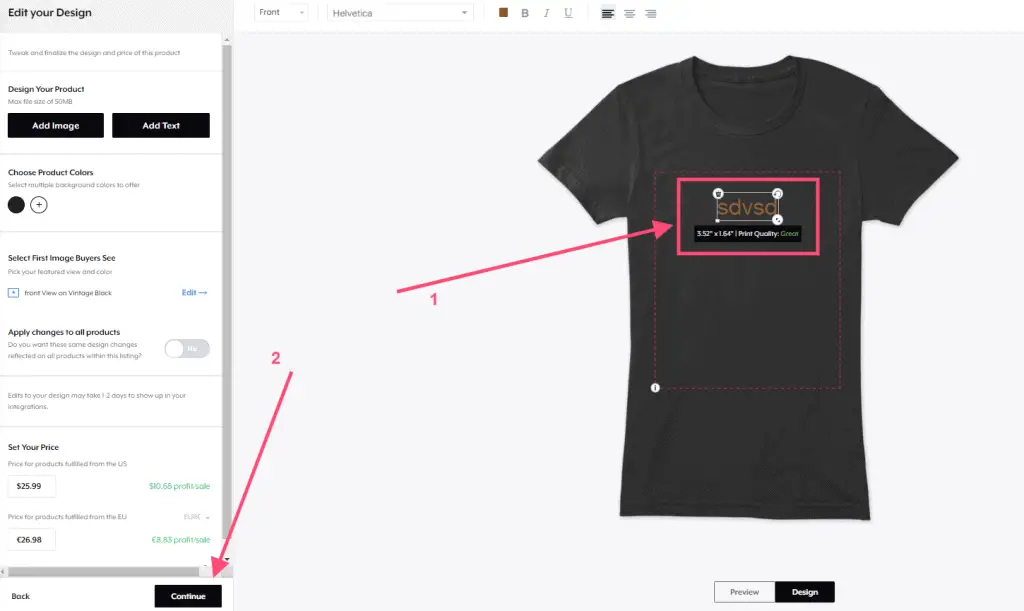
Next, click on the “Add text” button available on the left side of the designing tool.
Once you click, the text box will appear on the product that you have chosen in the previous step.
Note: If the background of the t-shirt is black then you may find it difficult to spot the text box. So, change the product color on Teespring or use a different font color for the text to make it visible.
Now click the text box, delete the existing text, and type your new text. You can press the enter button to move the text to a new line.
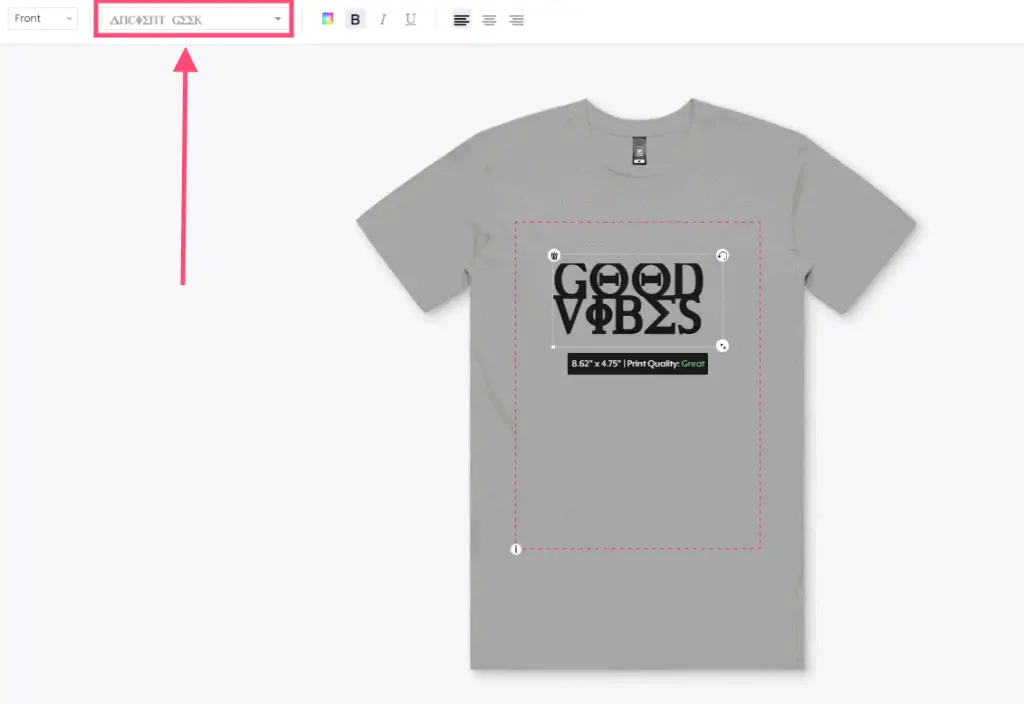
You can also change the font of the text on your Teespring product by selecting the text box and choosing a different font available in the dropdown list.
However, if you want to change the font of a specific word in your design, you cannot do that using a single text box.
For example, if you have a single text box containing the word, “Good Vibes” and want to change the font of “Vibes” then you have to add two text boxes for each word and control the font individually.
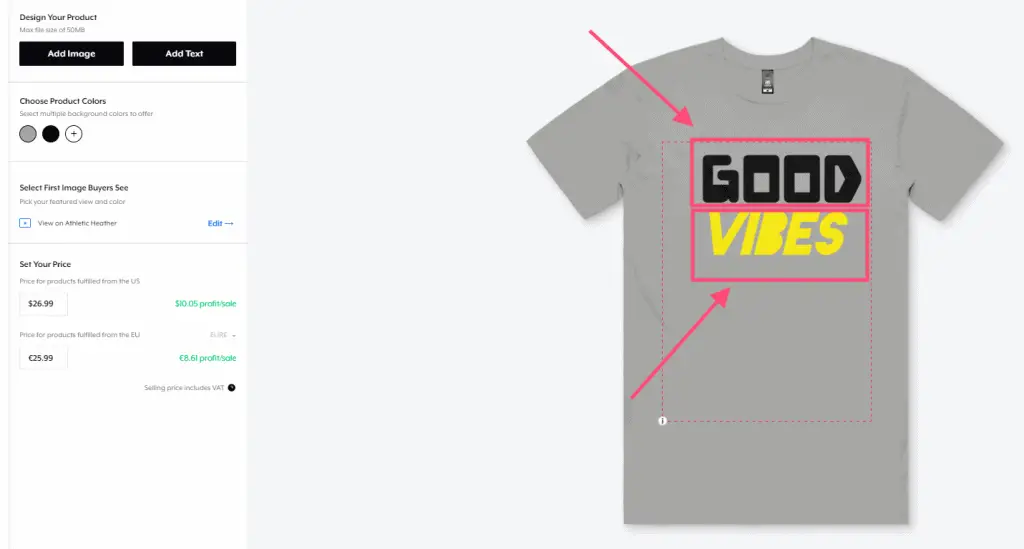
Same applies to having multiple multiple text colors on your Teespring product.
You may also like to read, How Do You Change The Default Color On Teespring?
How to align Text on Teespring?
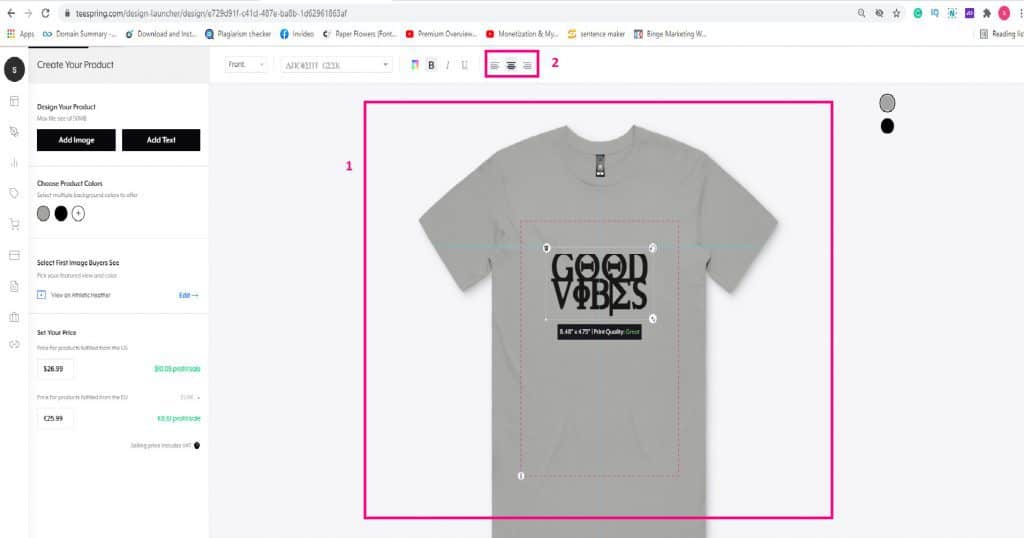
You can center the text box to the center of your Teespring product by following the below steps.
- Click and hold the left click on your mouse or laptop and drag the text box
- Release the text box when you see the gridline is at the center of the T-shirt
If you want to center align the text inside the textbox then click on the text box and click the center align button from the formatting panel.
You have successfully center aligned the text on Teespring.
Now let’s see how you can edit the text design of a published Teespring listing.
How to edit Teespring Design After Listing?
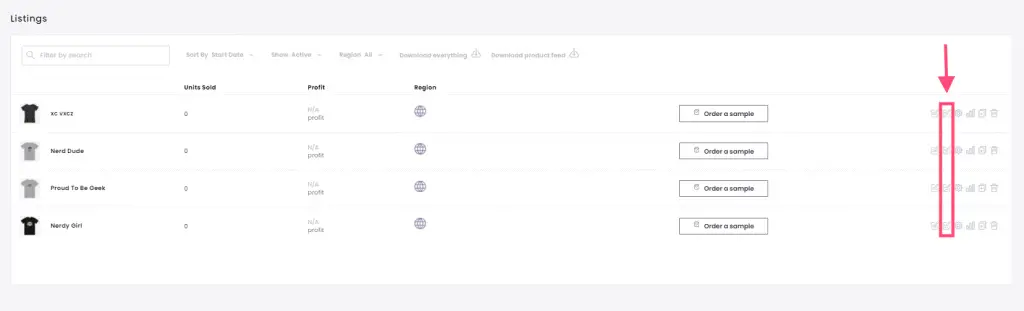
First, go and find the listing on your Teespring store to edit the design. You can read this article to understand how to find a listing on Teespring?
Once you have identified your listing, click on the “edit design” button on the listing.
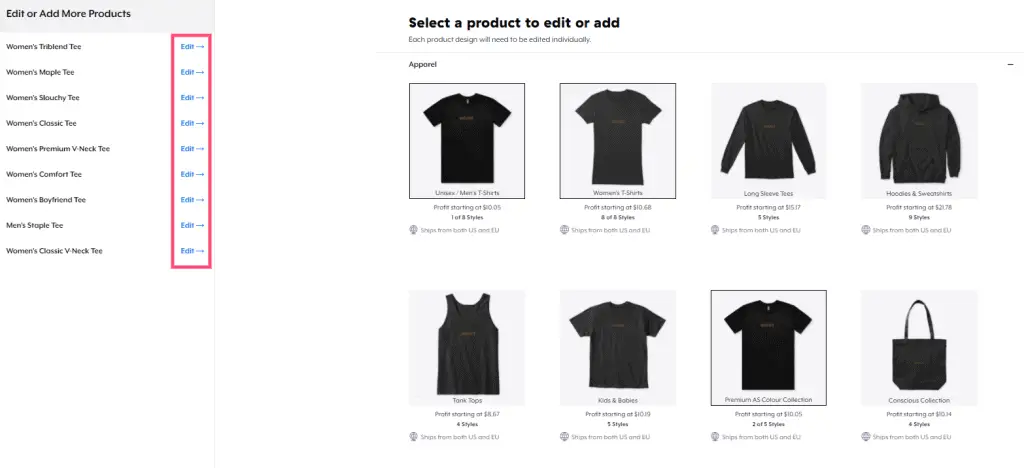
In the next window, you will have to select the Teespring product to edit the text.
Note, changing the design or editing the text will apply to only the specific product. If you want to edit the text for all the products then you will have to do it individually.
I know it is a pain but currently, that is the only way to do it. A workaround could be to remove all the products associated with the listing and add them after making changes to one product.
Once you are on the design page, you can edit the text by clicking on the text box and click continue to move to the products page.
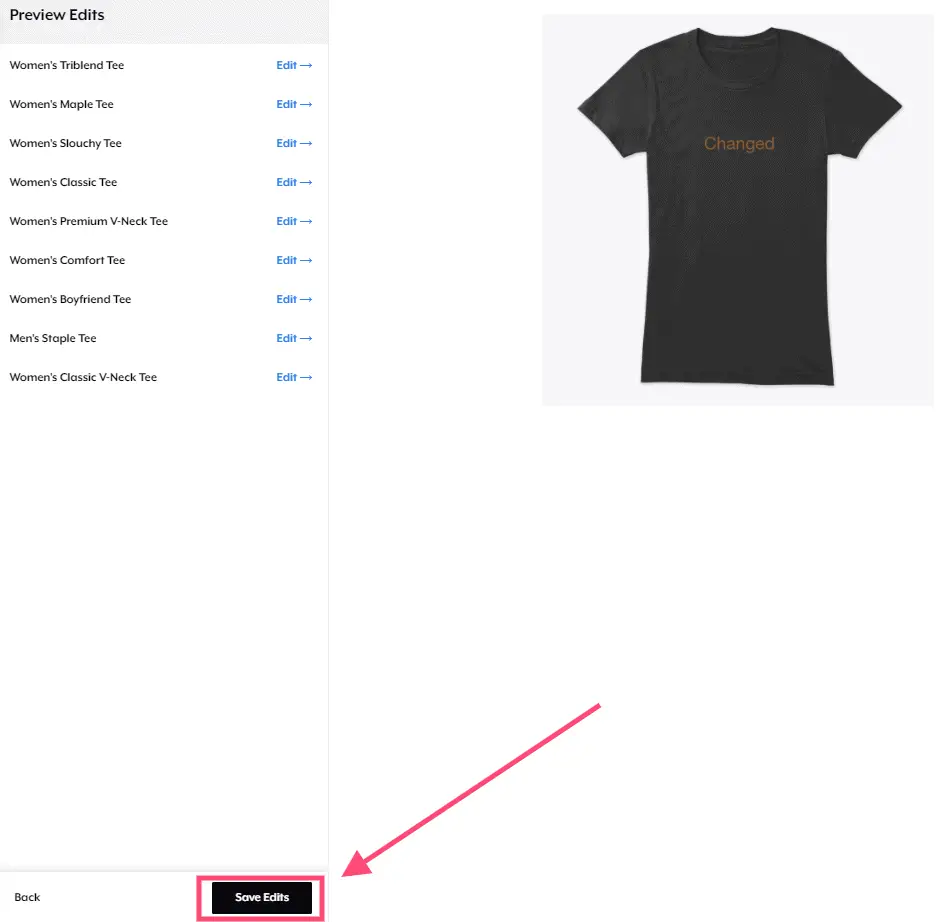
Now you can preview the changes that you have made to the design and click “Save Edits” to save changes.
That’s it.
You have successfully edited the text design on your Teespring product that was listed and the same will be reflected both on your listing and storefront.
Use the search bar to find more information on Teespring.